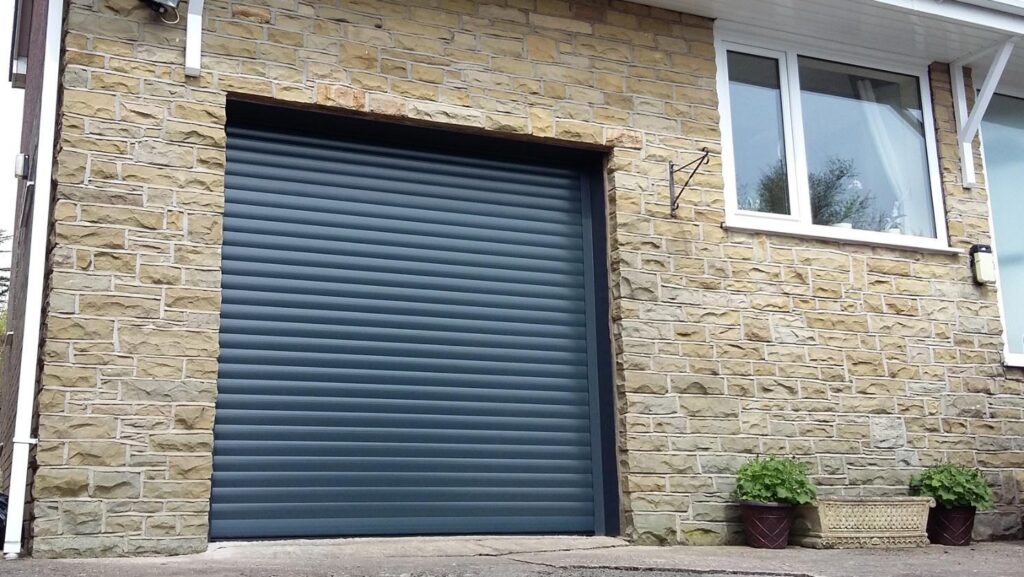
A garage door that is seldom given any attention does not quit on a lazy afternoon–it usually jams on the very morning that you are running late. If you schedule an hour to do simple maintenance each season, you will avoid calls for frantic repairs and keep the largest moving part of your home working properly.
With simply a can of lubricant, a socket set, and this checklist you can complete just about every routine task. The reward will be more than fewer repairs–you will feel confident knowing how your door works, and what red flags to be aware of. For a little know how today, it will become a surprise free experience tomorrow.
Why Maintenance Matters?
Your garage doors cycle up to 1,000 times each year, and every lift exerts stress on the hinges, rollers and the garage door opener. Neglecting simple regular checks allows minor wear – like an unaligned track or a warped weather seal – to turn into expensive failures. Regular maintenance will also safeguard the safety sensors that prevent the door from closing crushing on kids, pets or your bumper.
It will also maintain your warranty coverage as warranty policies have allowances which require documented maintenance to satisfy any claim. Furthermore, a well maintained door provides curb appeal and can reduce your home insurance premiums
Lubricating Moving Parts
Before you go for the spray, take a stiff brush or old toothbrush to clean up cobwebs and road dirt so the lubricant stays on clean metal. Even a little prep will make sure the oil goes into pivots and bearings instead of creating sticky sludge. Keep a rag in your pocket to collect drips and keep from spotting the driveway.
Visit https://en.wikipedia.org/wiki/Lubricant to know more.
Make this a rapid ritual with your seasonal yard work so you don’t forget it. If you are ever hearing a squeal or a grind after lubrication, cycle the door a time or two—the oil needs the action to get into tight clearances.
- Gather the right lube. Use a silicone-based spray (never grease) to avoid sticky buildup on rollers.
- Work from the top down. With the door closed, mist each roller, hinge pin, and the torsion spring bearing plate.
- Wipe excess promptly. A quick rag pass stops dust from turning lubricant into grit.
- Skip the tracks. Lubricating them can make rollers slide instead of roll.
- Benefit for premium doors. Owners of B&D Melbourne sectional systems swear by this five-minute routine for whisper-quiet operation.
Inspecting Springs and Cables
Disconnect the opener so you’re moving the door manually. From inside, scan the torsion spring for rust, gaps, or a shiny wear line; even a 2 mm split means it’s close to snapping. Check lift cables near bottom brackets—this spot traps moisture, so frayed strands show up here first. Replace weak parts immediately; band-aids on high-tension cables aren’t safe. Use a flashlight and stand off to the side so you’re not directly under the spring while you look. Most newer doors have a warning tag hanging near the torsion bar—review it so you know the factory’s safety recommendations.
Testing Balance Safely
Lift the door halfway and let go. If it drifts more than 5 cm, the torsion spring needs adjustment by a pro. Re-engage the opener and test the auto-reverse: place a scrap board on the floor under the closing door—it should bounce back. Wave a broom handle through the sensor beam to confirm an instant stop. These quick balance tests spare your opener motor from overload. Plan to do this balance test at least every other month; it takes less time than brewing a cup of coffee. Performing it regularly keeps sudden opener strain from warping the top door section or stripping the drive gear.
Seasonal Upkeep Timeline
Think of this timeline as a quick reference card you can tape near the opener button. Ticking off each season’s tasks keeps small issues from snowballing into big repairs, no matter how wild the weather gets. Set calendar reminders on your phone so you never miss a step. If you live near the coast or on a windy street, bump each timeline task up by a few weeks to stay ahead of salt and dust buildup.
- Early Spring: Wash panels with mild soap, check the weather seal, and verify track alignment after winter shifts.
- Mid-Summer: Lubricate hardware, retighten bracket lag screws, and dust the opener housing.
- Autumn: Clear leaves from tracks, confirm the backup battery, and reinspect the torsion spring before cold sets in.
- Mid-Winter: Listen for new clunks on frosty mornings; metal shrinks, so give bolts a gentle retorque.
Consistency with inspecting hinges, springs, and sensors (see here for details) converts your garage entry from a noisy, unpredictable door, into a sensible, quiet entryway you can depend for the year—freeing your weekends to work on, not repair, that project you could never seem to finish. A little effort each season rewards you with peace-of-mind, and extends the life of both the door, and the opener. You’ll never again find yourself in the rain, desperately trying to lift a stuck door, manually, at midnight! Reference this checklist and your garage doors will repay you for all those years with smooth, silent operation.

